We source our chicken from one farm in Leicestershire. The farm is Pasture for Life certified and rears truly free range, outdoor birds.
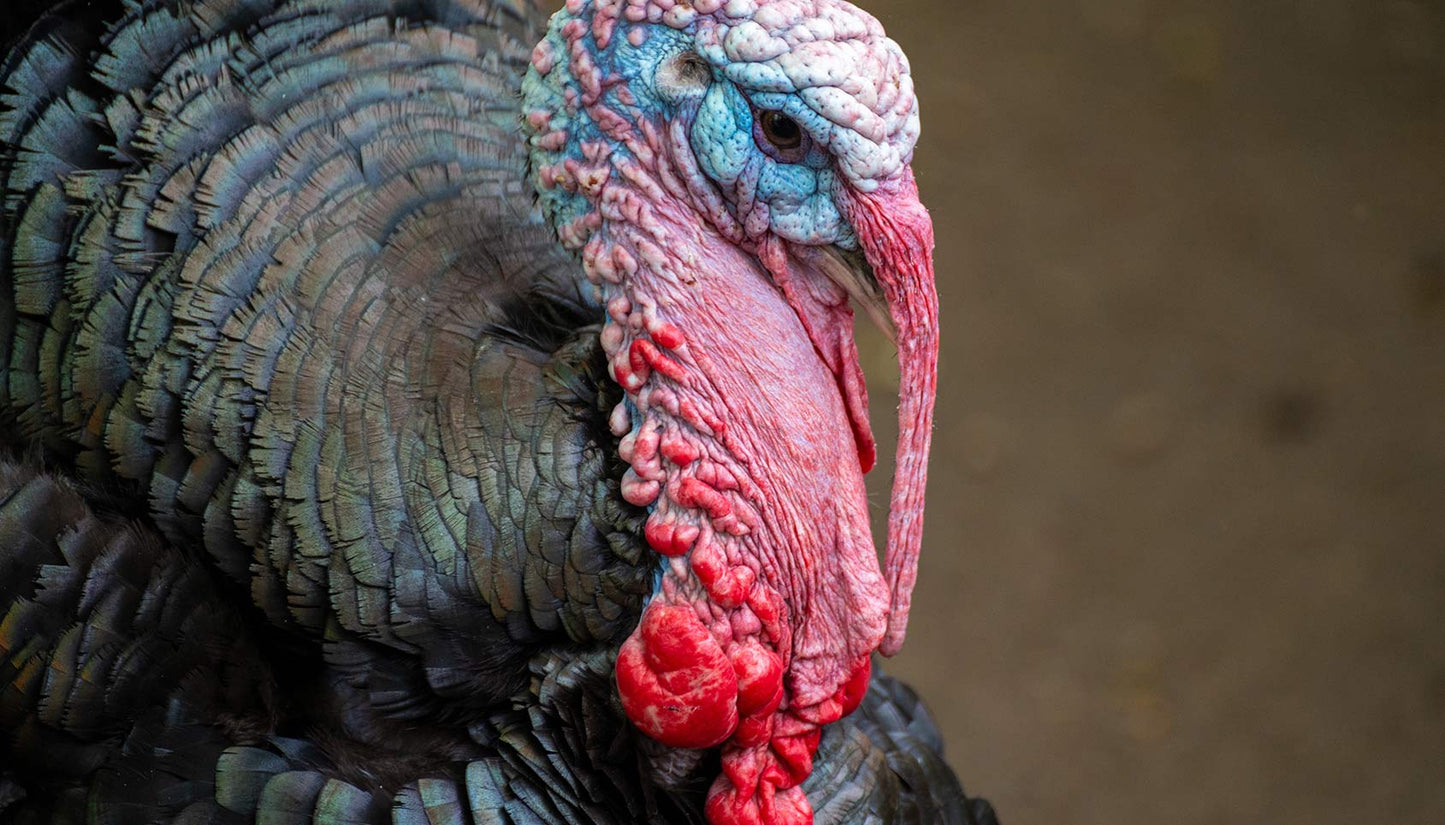
Many people approach cooking a turkey with some trepidation. It's a big bird we tend to cook only once a year and is super lean so making it susceptible too drying.
So, here are a few foolproof tips that will make you a Christmas culinary hero!
To brine or not to brine?
Brining means soaking in a salty liquid (unless you're dry brining, but we'll get to that later) - the reason for soaking a bird in salty liquid is to lock in moisture.
For those of you who are interested in the science...this is how it works.
The brine surrounding the muscle fibre cell has a higher concentration of salt than the fluid within the cells. This leads salt ions to enter the cell via diffusion. The high salt concentration immediately begins to do its work on the protein complexes within the muscle fibre (see below for detailed explanation). The end result is the muscle fibre draws in and retains a substantial amount of water by both osmosis and capillary action. The meat’s weight can increase by 10% or more allowing for greater moisture in the food after cooking. In addition, the dissolved protein does not coagulate into the normally dense aggregates, so the cooked meat seems more tender.
In simple terms this means a moist, juicy and flavourful roast.
Simple turkey brine recipe:
For 2 litres, scale up as needed.
200g coarse salt
100g golden caster sugar
2 bay leaves
5 peppercorns
1 orange, zested
So how do you brine a turkey?
Making the mix is easy, simply follow the recipe above and scale up as required, what's not so easy is having a receptacle big enough to do this. The bird must be completely submerged and kept refrigerated and should be in the brine 1 hour for every 500g meaning a 6kg turkey should brine for 12 hours.
The easiest way to make and cool a brine quickly is to heat half the amount of water you need with the salt and any aromatics. After the salt has dissolved, add the rest of the water, making sure it is as cold as possible – it should be completely cold before you use it.
So should you?
If your turkey is slow grown (ours are) brining is optional - there are other ways to cook it to perfection but it will give you a safety net.
When the bird has finished its brining make sure you completely rinse and dry the bird before cooking.
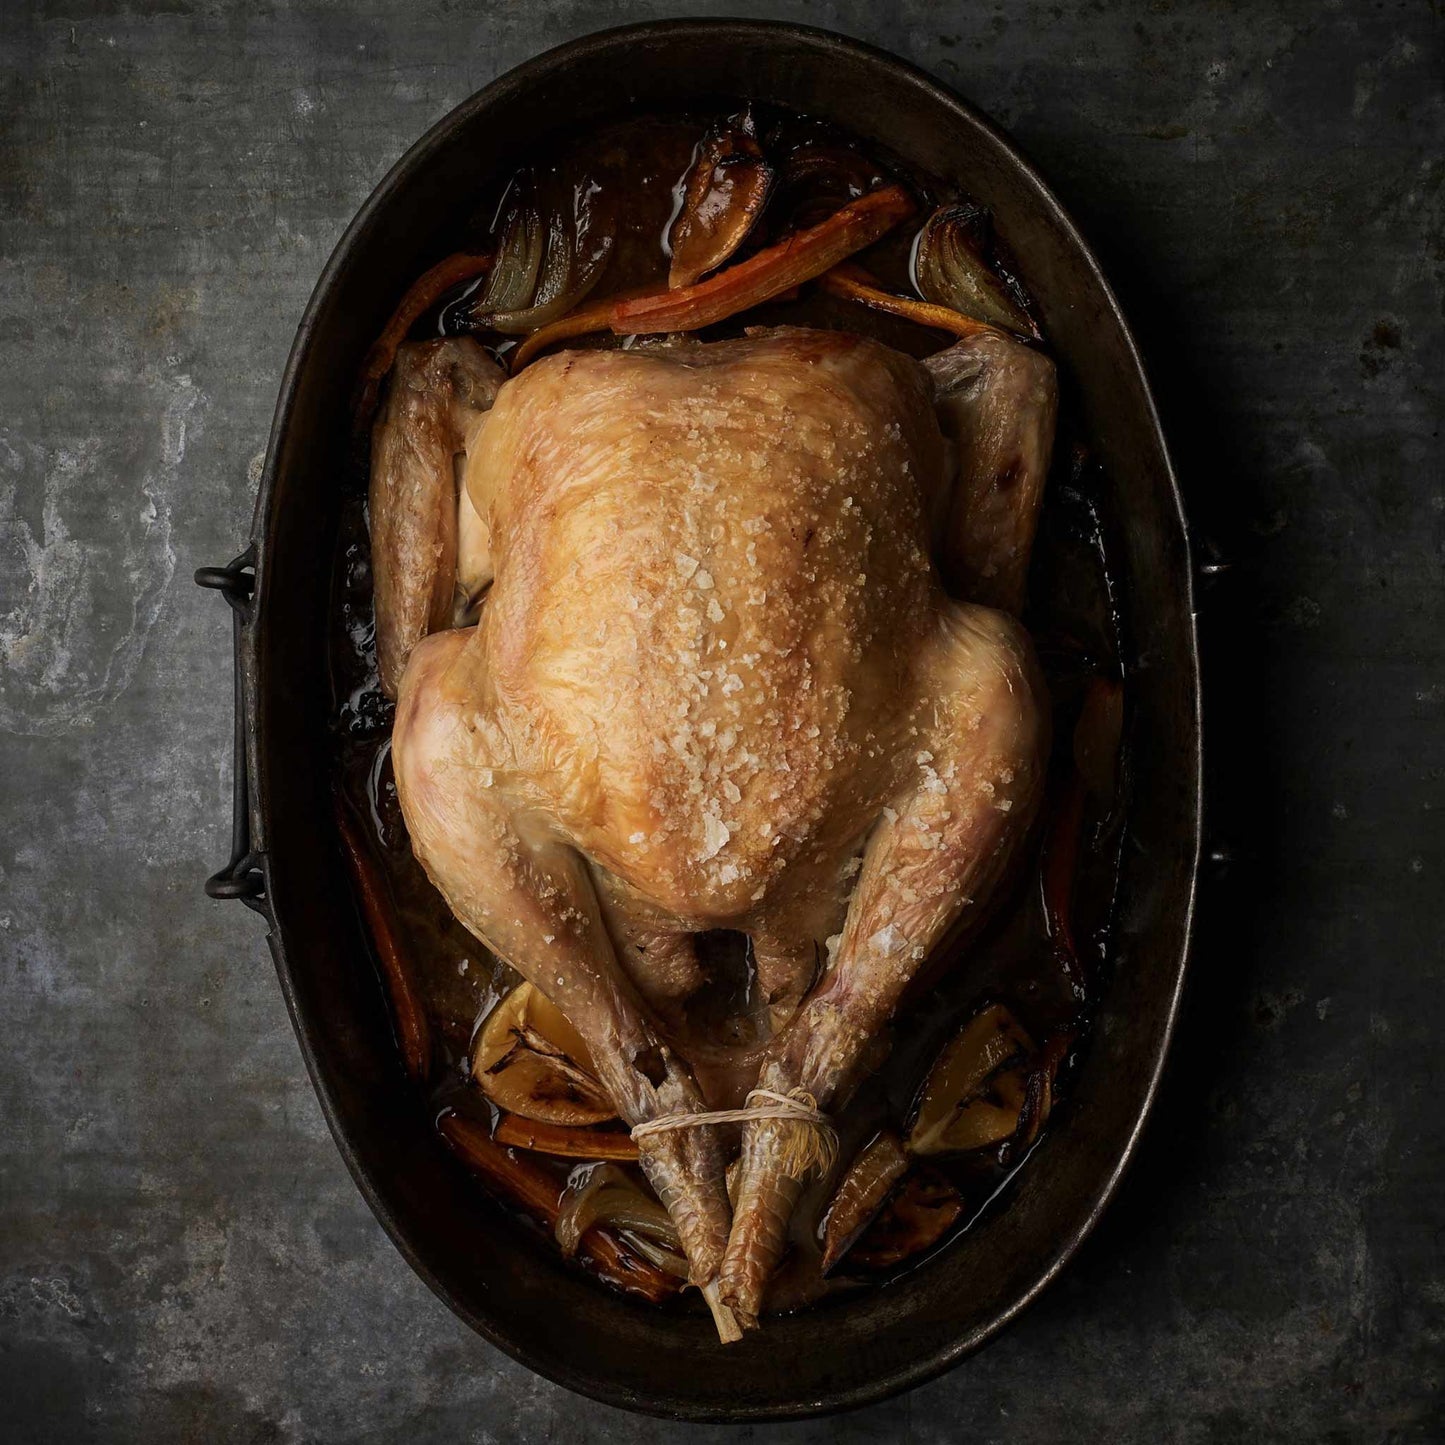
Cover the dried brined bird in butter and season with salt and pepper before cooking.
So, how to roast a turkey without brining?
The problem with roasting a whole turkey is that some parts cook faster than others which may result in the over cooking or under cooking of certain areas!
There are some things you can do to help this.
Top tips for a brined or un-brined turkey
Tip Number 1. Remove the wishbone before cooking
This makes carving so much easier. If you have poultry scissors get in there and cut the wishbone out, otherwise use a paring knife. When you come to carve the breast you'll be able to cut it into perfect slices right through to the breast bone.
Tip number 2. Use a roasting rack.
The rack allows heat to circulate evenly underneath the meat, as well as around the sides. The more air circulation in the pan, the more evenly the meat will cook. A roast or a whole turkey is too large to turn over in the pan, with a rack there is no need.
Tip number 3. Cover with butter.
Don't hold back! Soften a whole pack of butter, season well with crunchy sea salt, maybe dried herbs and some high quality black pepper. If you think you're using too much you're on the right track - rub it in and add some more.
Tip Number 4. Start hot, cook cooler.
We all like crispy skin right?! To make sure the crispiness happens start the cooking at 240c for the first 30 minutes then turn down to 175c for the main cooking, this seals the outside and helps keep that moisture locked in while the rest of the bird cooks.
Tip Number 5. Baste.
This is non-negotiable. Every 30 minutes open the door and baste the bird with the juices collecting in the pan under the bird, a classic turkey baster is your friend. Failing that, use a ladle or a large spoon - take your time, do it properly and make sure the liquid gets to cover the bird.
Tip Number 6. The magic number is 75c.
The single best investment (in our opinion) you can make to elevate your turkey cooking is a meat thermometer. There are many fancy versions with bluetooth connections to iPhone apps but you just need to know how hot the meat is so you can keep it simple.
Regardless of recipes your bird is ready when the internal temperature in the deepest part of the meat is 75c. Simply take measurements by pushing the thermometer into the deepest part of the meat - either the breast or the thigh. Start checking after 3 hours for a 6kg bird, less for smaller ones.
Tip Number 7. Rest it.
Cover the cooked turkey with tin foil and let it rest for 20 minutes before carving. This is not negotiable!
_______________________________________
Now controversy...spatchcock your turkey!
This method will not provide you with the classic centrepiece but is probably the best way to cook a turkey.
To spatchcock a turkey use a pair of poultry scissors and cut out the backbone then using your palms press down to spatchcock the turkey.
A great tip is to cook the turkey covered in a huge baking tray covered tightly with foil with a little chicken stock in the pan on a low heat for 2 hours then crank up the heat to 250c to crisp the skin for the last 15 minutes or so.
Why Spatchcock a Turkey?
Advantage 1: Flat Shape = Even Cooking
By laying the bird out flat and spreading the legs out to the sides, what was once the most protected part of the bird (the thighs and drumsticks) are now the most exposed. This means that they cook faster—precisely what you want when your goal is cooking the dark meat to a higher temperature than the light.
As a bonus, it doesn't take up nearly as much vertical space in your oven, which means you could even cook two birds at once. This is a much better strategy for moist meat than trying to cook one massive bird.
Advantage 2: All Skin on Top = Juicier Meat and Crisper Skin
A regular turkey is simply a sphere with meat inside and skin on the outside. Because it's resting on top of a roasting pan or baking sheet, one side of that sphere will always cook more than the other.
A spatchcocked turkey, on the other hand, resembles a cuboid, in which the top surface is skin and the volume is meat. This leads to three end results. Firstly, all of the skin is exposed to the full heat of the oven at the same time. There is no skin hiding underneath - no underbelly to worry about. Secondly, there is ample room for rendering fat to drip out from under the skin and into the pan below. This makes for skin that ends up thinner and crisper in the end.
Finally, all of that dripping fat bastes the meat as it cooks, helping it to cook more evenly, and creating a temperature buffer, protecting the meat from drying out.
Advantage 3: Thinner Profile = Faster Cooking
A normal roast turkey can take several hours to cook through at an oven temperature of around 175c or so. Try and increase that heat, and you end up scorching the skin before the meat has had a chance to cook through.
With a spatchcocked turkey and its slim profile, this is not a problem. You can blast it at 235c and it'll cook through in about 80 minutes without even burning the skin. In fact, you want to cook it at this temperature to ensure that the legs and breasts end up cooking at the same time (lower heat leads to a lower differential in the internal temperature between hot and cool spots), and that the skin crisps up properly.
Advantage 4: Turkey Backbones = Better Gravy
It's always possible to make gravy with nothing but chicken stock and dripping, but gravy is so much better when you have some real bones and meat to work with. Normally, that means using the turkey neck and giblets to flavour the broth while the turkey roasts. Why not add the entire turkey back to the mix, resulting in more flavour.